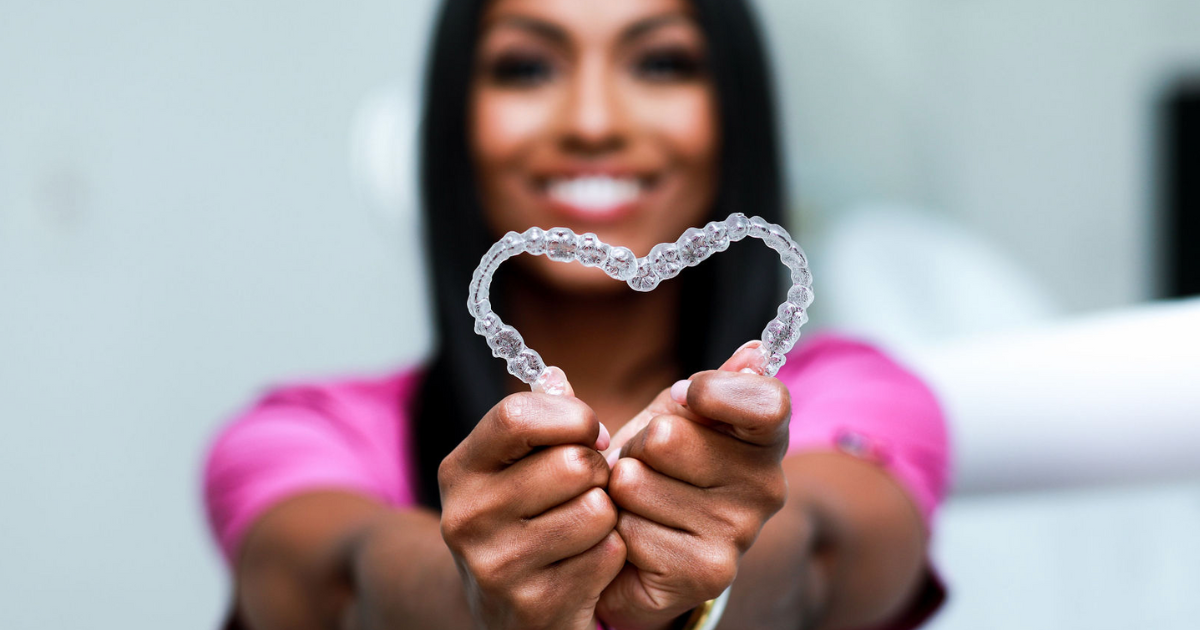
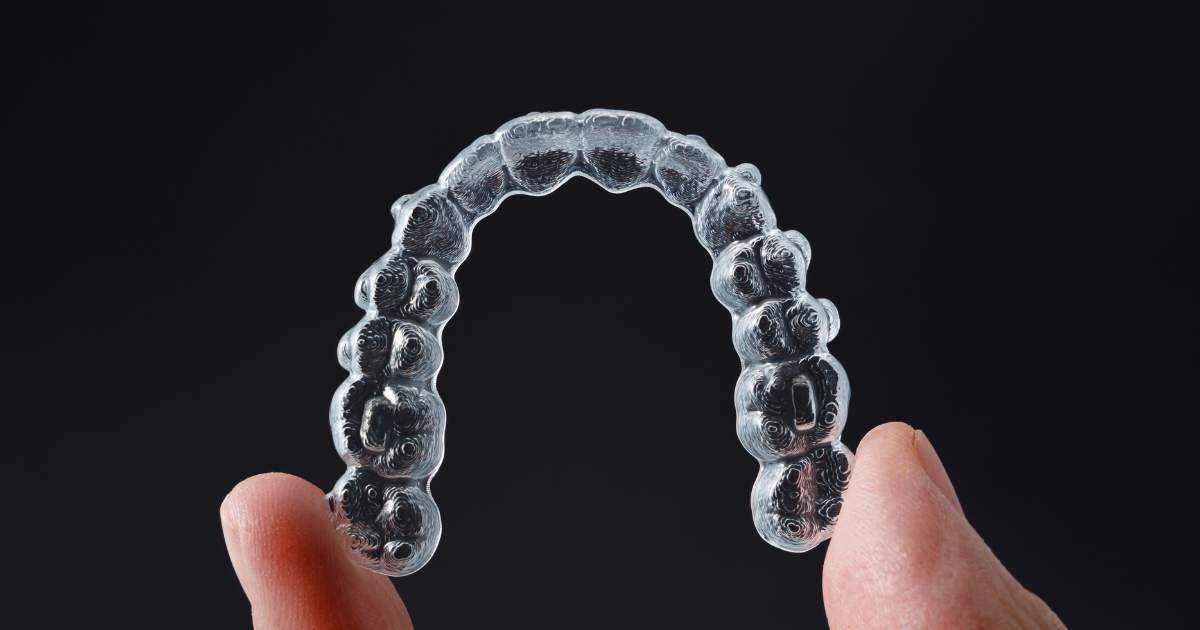
My Top 5 Must-Haves for Your Invisalign Journey

As you embark on your Invisalign journey to achieve a perfect smile, it’s essential to be well-equipped to make the experience as smooth and effective as possible. I want to share five essential items I recommend to all my patients. These tools will help maintain oral hygiene and ensure your aligners stay in top condition throughout your treatment.

1. Mini Coco Floss

Maintain Pristine Oral Hygiene with Compact Floss

Flossing is a must during your Invisalign treatment. I recommend mini cocoa floss because it’s convenient and effective. These tiny, portable floss packs can be kept anywhere—from your purse to your car—allowing you to easily remove food particles after meals, no matter where you are. Each compact package contains about a two-week supply, making it a practical choice for staying on top of dental cleanliness throughout your treatment.

2. Extra Aligner Case

Never Be Without a Safe Place for Your Aligners

I advise keeping an extra aligner case handy to avoid potential mishaps. Having an extra case in your office, car, or bag ensures that you have no excuse to resort to unsafe storage methods like wrapping your aligners in tissue, which I strongly advise against. This precaution helps keep your treatment on track by safeguarding your aligners whenever they are not in use.

3. Pull Tool with Chewie

Enhance Aligner Fit and Comfort

A pull tool equipped with a ‘chewie’ is another must-have. This tool not only helps remove your aligners safely without damaging them but also includes a chewie to improve the fit of the aligners. By biting down on the chewie, you help the aligners grip the attachments on your teeth better, ensuring effective movement and comfort. I recommend using this tool for at least 10 seconds each time you reinsert your aligners.

4. Fizz Me Pearl Aligner Cleanser Tablets

Keep Your Aligners Crystal Clear

To maintain the cleanliness of your aligners, Fizz Me Pearl Aligner Cleanser Tablets are indispensable. These dissolvable tablets, used in a glass of water, provide a deep clean in just 15 minutes. They’re incredibly effective at keeping your aligners free from bacteria and buildup, which is crucial for both hygiene and optimal treatment efficacy. Regular use of these tablets will keep your aligners—and your smile—looking their best.

5. Invisalign Whitening Pen

Brighten Your Smile Effortlessly

To keep your teeth looking bright throughout your Invisalign journey, I love the Invisalign whitening pen. It contains a 5% hydrogen peroxide gel that you can easily apply directly to your teeth. For best results, I recommend using this pen for about half an hour each day. It’s a convenient way to enhance your smile while your teeth are being aligned.

Bonus: Invisalign Mints

Freshen Your Breath Without Harming Your Aligners

As a bonus, I also recommend Invisalign Mints. These sugar-free mints are perfect for freshening your breath after meals and can be used while your aligners are in. They won’t damage your teeth or aligners, making them an ideal choice for maintaining fresh breath throughout your treatment.

These are the essentials that I recommend to enhance your Invisalign experience and ensure you achieve the best possible results. By incorporating these products into your daily routine, you can address nearly every aspect of your Invisalign care—from maintaining stellar oral hygiene to ensuring your aligners fit perfectly and your smile stays bright. Each item has been chosen for its effectiveness and convenience, designed to make your orthodontic journey as comfortable and hassle-free as possible.

Remember, successful Invisalign treatment isn’t just about wearing your aligners; it’s about caring for them and your oral health with the utmost diligence. With these top tools and products by your side, you’re well on your way to achieving the beautiful, straight smile you’ve always wanted. If you have any questions about these products or want more tips on managing your Invisalign treatment, don’t hesitate to reach out or consult your orthodontic professional. I look forward to hearing all of your stories about your individual Invisalign Journey.

Happy smiling!


We also have our upcoming Annual Invisalign Day happening this August 10th,  Spots usually go quickly for this event, since it’s the only day of the year you’ll get VIP pricing and one one-on-one informative sessions on Invisalign, hit the link to register –> Invisalign Day.

Embracing and Enhancing Diastemas

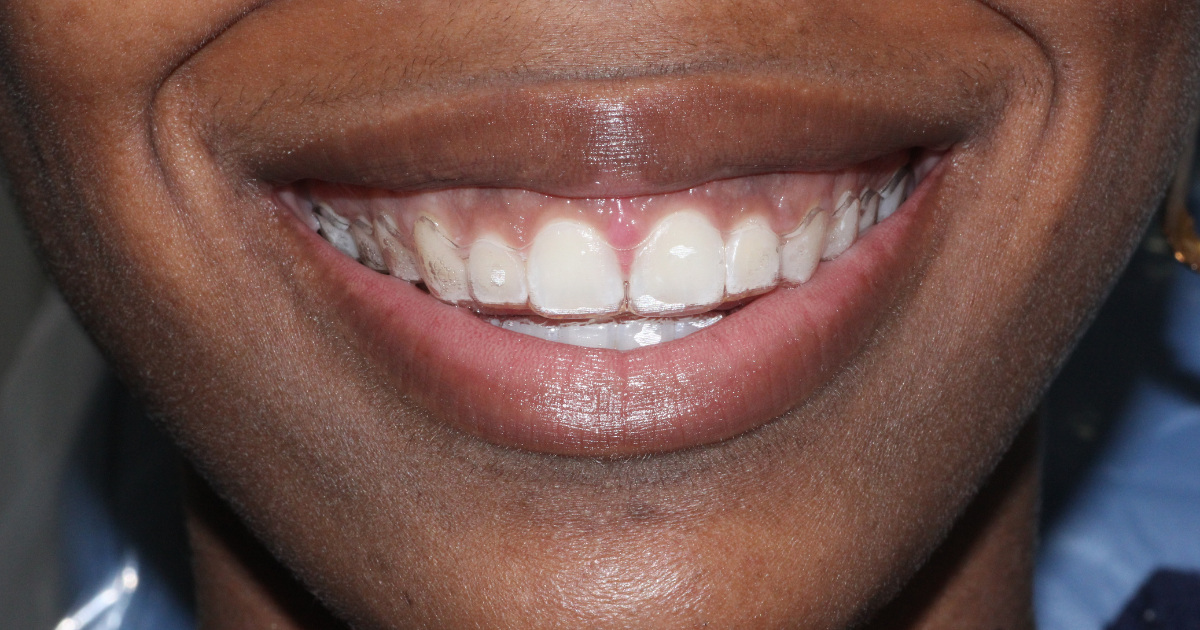
Diastemas, or gaps between teeth, are a common dental characteristic that often becomes a focal point for cosmetic dental treatments. While traditionally viewed as imperfections, attitudes toward diastemas have evolved, and today, they are often embraced as unique features that add character to a smile. In this article, I’ll delve into how we approach diastemas in modern dentistry, offering patients the flexibility to either close these gaps or enhance their appearance according to their personal preferences.

Understanding Diastemas

Diastemas are naturally occurring spaces between the teeth, most commonly appearing between the two upper front teeth, known as the midline diastema. The reasons behind choosing to address diastemas vary; some individuals seek to close them completely for a more uniform smile, while others may wish to reduce their width without eliminating them entirely.

Tailored Treatment Options

Thanks to advanced dental technology, we can now plan and execute treatment with precision, determining the exact size of the space to be modified. This customization is crucial in aligning with each patient’s aesthetic goals and ensuring their satisfaction with the final results.

Adapting to Changing Preferences

Interestingly, patient preferences regarding diastemas can shift during the treatment process. I have encountered many cases where patients initially desire to close their diastema entirely. However, as they progress through their treatment and start to see changes—sometimes influenced by the appearance of aligners which can make the teeth look temporarily gap-free—they opt to maintain a slight gap. This shift is often influenced by how they perceive their evolving smile in the mirror; the new look grows on them, and they choose to adjust their treatment goals accordingly.

Conversely, some patients start their treatment with the intention of retaining a small gap but decide to close it completely as they grow accustomed to the look of their aligners and the preview of a gap-free smile they provide. This flexibility is one of the great advantages of modern dental aligner technology—it allows for adjustments based on real-time feedback and personal preference.

Designing Your Ideal Smile

The most important aspect of treating diastemas is ensuring that the final outcome aligns with what you envision for your smile. Whether it involves closing a gap or just narrowing it, the goal is to craft a smile that you feel confident about. This patient-centric approach emphasizes the importance of personal choice in cosmetic dentistry, celebrating individual beauty and preference.

In conclusion, whether you choose to close your diastema or celebrate its presence, today’s dental treatments offer the flexibility and precision needed to achieve the look you desire. By embracing this tailored approach, we can design a smile that truly matches your individuality and enhances your natural charm.

Don’t forget, we have our upcoming Invisalign Day on August 10th, where you can meet the team and learn all about Invisalign. Register Here —> Invisalign Day.

My Favorite Aligner Hygiene Products

Maintaining optimal hygiene for your aligners is crucial for a successful and comfortable Invisalign treatment. I want to share with you my go-to products that help keep your aligners clean and your oral health in top shape. These products are not just effective but also easy to use, ensuring that your daily hygiene routine enhances your Invisalign experience.

Here are my Favorite Aligner Hygiene Products:

1. PUL Daily Aligner Cleansing Tablets

Simple and Effective Cleansing Routine

One of my favorite hygiene products is PUL, daily aligner cleansing tablets. The process is straightforward: simply dissolve one tablet in a mug of water, leave your aligners to soak for about 15 minutes, give them a brush, rinse, and they’re ready to be used again. I recommend using this product twice daily—once in the morning after breakfast and teeth brushing, and once at night before bed. This routine helps maintain the cleanliness and hygiene of your aligners throughout the day.

2. Invisalign Cleansing Foam

Convenient Cleaning On the Go

Next on my list is the Invisalign cleansing foam. This product is great for those who are always on the move. According to the manufacturer, you don’t need to rinse or soak your aligners after applying the foam. However, I suggest rinsing them briefly after foaming for a fresher feel. This foam is perfect for daytime use and can be easily carried in your handbag, car, or kept at the office, allowing you to clean your aligners without the need for soaking.

3. Invisalign UV Sanitizing Case

High-Tech Aligner Sanitization

The Invisalign UV sanitizing case is a product I adore due to its use of UV light—a common sanitization method in both medicine and dentistry. This case requires charging but offers a reliable way to sanitize your aligners effectively. It’s a fantastic choice for those who appreciate advanced technology solutions for aligner care.

4. Aligner Cleansing Spray

Freshen Up After Meals

Another handy product is the aligner cleansing spray. Similar to the foam, this spray is perfect for on-the-go scenarios, such as after meals when you need a quick freshen-up for both your aligners and breath. It comes in a fresh mint flavor, adding a pleasant touch to its practicality. Keep a bottle in your handbag or office drawer for easy access whenever you need a quick cleanse.

5. Soap and Water Technique

A Gentle Alternative for Daily Cleaning

Lastly, it’s important to address a common misconception: using toothpaste to clean your aligners. Toothpaste should be avoided as it can damage the smartrack aligner plastic and affect the aligner’s effectiveness. Instead, I recommend using a liquid antibacterial soap and water for daily cleaning. This method is gentle yet effective in keeping your aligners in perfect condition without compromising their integrity or functionality.

By incorporating these products into your daily routine, you ensure that your aligners remain hygienic and functional throughout your treatment. Remember, taking good care of your aligners is as important as wearing them according to your orthodontist’s guidance. These products not only facilitate a clean aligner environment but also contribute to the overall success of your Invisalign journey.

Let me know in the comments, which one of my favorite Aligner Hygiene Products are you currently using.

Don’t forget, we have our upcoming Invisalign Day on August 10th, join us to have all of your questions answered and for a fun-filled day. Register here –> Invisalign Day Registration.

Learn more about Smile Inn and how we can help you —> About Smile Inn.

What to do If You Lose Your Invisalign?

Losing an Invisalign aligner can be a stressful moment, especially if you are committed to a strict treatment schedule for aligning your teeth. However, there are steps you can take to minimize the disruption to your treatment and ensure that you stay on track towards achieving your desired smile. Here’s what you should do if you find yourself in a situation where you’ve lost an Invisalign aligner.

Contact Your Dentist Immediately

The first and most important step is to inform your dentist when you realize an aligner is missing. Prompt communication lets your dentist assess the situation and advise you on the best course of action based on how long you’ve been wearing the lost aligner and your overall treatment plan.

Assess the Timing of the Loss

The timing of when you lose your aligner plays a crucial role in determining the next steps:

Early in your aligner wear cycle 

If you lose your aligner early in the cycle such as within the first few days of a new set, your dentist can order a replacement from Invisalign. Thanks to digital records, Invisalign can produce a new aligner that matches the specifications of the one you lost, ensuring that your treatment progresses without significant delays.

Close to Changing to a New Aligner

If the loss occurs closer to the time when you are scheduled to switch to a new aligner, your dentist might suggest moving on to the next aligner ahead of schedule earlier than planned. This can be a viable option if the timing aligns closely with your transition period.

Using Previous Aligners as a Temporary Solution

In cases where neither of the above options is viable, or if there will be a delay in receiving a new aligner, your dentist might recommend reverting to the previous aligner. This is why it’s essential to keep all your past aligners, as advised by dental professionals. Returning to the previous set can help maintain the progress you’ve made until a replacement for the lost aligner is available or until it is appropriate to advance to the next stage in your treatment.

Keep All Your Aligners

As highlighted, keeping all your previous aligners is crucial. They not only serve as a backup in situations like this but can also be useful if there’s a need to temporarily revert to an earlier stage in your treatment. Store them in a safe place where they are labelled or organized in a way that you can easily identify and retrieve them if needed.

If you ever lose your Invisalign, we know it could cause panic but it does not have to derail your progress towards straighter teeth. By acting quickly and following the guidelines provided by your dentist, you can manage the situation effectively. Always communicate promptly with your dental professional and follow their instructions to ensure your treatment continues smoothly and your path to a perfect smile remains uninterrupted.

We have our Annual Invisalign Day happening on August 10th, come join us to learn all about Invisalign —> Invisalign Day Registration.

5 Dental Practices to Prevent Cavities

Dr. Hazell offers valuable advice on preventing cavities with these five key recommendations:

  • Flossing: Regular flossing helps remove plaque from between teeth and in hard-to-reach areas, preventing cavities from forming in these spaces.
  • Avoid Rinsing After Brushing: Leaving toothpaste residue on teeth after brushing allows the fluoride present in the toothpaste to continue protecting teeth against cavities.
  • Chew Sugar-Free Gum: Chewing sugar-free gum, particularly after meals, stimulates saliva production, which helps clear food particles and increases the mouth’s pH to a neutral level, promoting a healthy environment for teeth.
  • Receive Fluoride Treatments: Regular fluoride treatments at dental visits, typically recommended at least once a year, help strengthen enamel, making teeth more resistant to decay, especially for those prone to cavities.
  • Limit Sugary and Acidic Foods: Reducing consumption of sugary and acidic foods helps minimize the primary culprits behind dental decay, supporting overall oral health.

By incorporating these practices into your oral care routine, you can significantly reduce the risk of developing cavities and maintain strong, healthy teeth.

3 Dental Signs That Are Not Normal

These are 3 important signs that shouldn’t be ignored. Here’s a breakdown of each issue and why it’s crucial to address them:

  • Bleeding Gums: Bleeding when flossing or brushing can indicate gingivitis or other forms of gum disease. Gingivitis, if left untreated, can progress to more severe forms of gum disease that can lead to tooth loss. Seeking treatment early can prevent further damage and preserve oral health.
  • Tooth Sensitivity: Sensitivity in teeth can be caused by various factors such as tooth decay, worn enamel, or exposed tooth roots. Ignoring sensitivity can lead to worsening pain and potentially more severe dental problems. Identifying the cause through professional diagnosis allows for targeted treatment to alleviate sensitivity and prevent further damage.
  • Pain While Chewing: Pain while chewing can indicate issues such as tooth decay, cracked teeth, or gum disease. Ignoring this pain can lead to further damage to the affected tooth or surrounding tissues. Prompt evaluation by a dentist can identify the underlying cause and initiate appropriate treatment to prevent complications like tooth loss.

In all cases, early intervention is key to preventing the progression of dental issues and avoiding more extensive and costly treatments down the line. Regular dental check-ups and prompt attention to any concerning symptoms are essential for maintaining oral health.

A new era in digital dentistry

Last week, our Smile Inn Dental team led by Dr Shenilee Hazell hosted Breaking the Mould, Adopting Digital Dentistry in Practice.

The launch included a live demonstration of the newest Itero 5D imaging system with near-infrared imaging technology (N.I.R.I), for a group of local dental specialists, dental practitioners and dental students.

The iTero Element 5D scanner is the first integrated dental imaging system that simultaneously records 3D, intra-oral colour and NIRI images. The system is the first of its kind in the Caribbean marking a significant milestone for the local dental industry.

No Radiation 

It enables comparison over time using TimeLapse technology aiding in detection and monitoring of dental decay without using harmful radiation typified by a traditional X-ray.

Fast Scanning 

In one full arch scan, in as little as 60 seconds, the iTero Element 5D Imaging System provides doctors with powerful visualization capabilities, including the following:

  • 3D virtual models for restorative and orthodontic work
  • NIRI images
  • Intraoral camera images
  • iTero TimeLapse technology
  • Invisalign® Outcome Simulator2
  • Invisalign Progress Assessment2
  • Various Analysis Instruments

This technology had been available in the European and American markets for just over a year. This is the first time such a sophisticated machine has been made available in the Latin American and Caribbean markets and we are really excited to be the first in the Caribbean showcasing it right here in Trinidad.

It is indeed an exciting time for dentistry.

The Science Behind Creating a Perfect Smile

Smile often, and live longer! Research has indicated that people who are mostly happy and smile a lot live up to ten years longer.

There are many elements that make up the ‘perfect’ smile, some you might already be aware of, such as symmetry and the ideal shape and size of teeth. Cosmetic dentists have an extraordinary checklist of factors to consider when designing your new smile:

  • Smile symmetry
  • Reflection of light of enamel
  • Shape of teeth
  • Size of teeth
  • Gum levels
  • Angle of teeth
  • Spaces between teeth
  • ‘Dark Corridors’ at the side of the mouth
  • Lip posture – how much teeth you show when smiling and how much is shown at rest
  • Translucency of enamel 

 How do dentists assess how to give you the perfect smile? What we look for in a smile?

Smile enhancement can range from simple teeth whitening to a complete smile makeover. Smiling influences your emotional state. Your smile can lift your mood, and even lift the moods of others.

Smiling positively influences your physical health. By increasing endorphin levels, it lowers blood pressure, boosts your immune system, and decreases stress.

There are three areas of your smile we look at to get the best aesthetic success

Face Analysis

The first thing we do is analyse your face. This is done by looking at a few factors.

  •  We look at your side profile (your face shape from the side)
We look at your skeletal profile

b. The shape of your smile arch (ie. is your smile slanted and not straight)

The cant of your arch

c. The midline (middle of your teeth and whether it is in line with the middle of your face 

The midline

d. The dynamics of your lips (when you smile, how much of your teeth do you show)

The dynamics of your lips

e.The amount of gum you show when you smile 

he amount of gums you show

 Front Smile 

2. The second thing we look at is the anterior or front region of your smile (that is the smile in the front part of your mouth). 
This is done by looking at:   

a. The horizontal position of the edges of your front teeth, that is: are your teeth too far forward, too far back, too long, too short)

Horizontal position of the edges of your front teeth

b. The vertical position of teeth, that is: is your smile line following the lip line, touching your lips or reverse. Also, how much of your teeth is revealed when you are not smiling.

Vertical position of teeth ie is your smile line following the lip line

c. Width to length ratio of your teeth. Generally, the ratio is 80%

Width to length ratio of your teeth. Generally the ratio is 80%

d. The height of your gums  in relation to the ones on the adjacent teeth)

e. The shape of your teeth and therefore the shape of the space between your teeth called the embrasure.

The shape of your teeth

f. The inclination of your teeth (are they straight or slanted and if slanted how much are they slanted)

The inclination of you teeth

Posterior Smile

3. The last thing we look at is your posterior smile (that is the way the smile blends with your back teeth) 

a. Is there a space between your cheeks and teeth (buccal corridor)

b. The way your gums blend in with the back teeth.

Gums blend in with the back teeth

Digital Smile Design in Dentistry

Advances in digital dentistry allow us to use software in which your smile can be designed to suit your face shape. The main advantage is that patients can visualise a simulation of their cosmetic smile makeover before it even starts!

How does it work?

During your record taking, a series of photos of your teeth and your face are taken which are then uploaded into a Smile Designer software. The dentist will then design the ideal teeth shape, size, and colour that will best go with your face. Once the design phase is complete you can decide if you want to proceed with treatment.

Composite Bonding

One of the most common minimally invasive dental procedures, Composite Bonding, can be done to repair teeth that have been decayed, chipped, worn down, discoloured or just to improve the smile, shape, colour, and contour.

The process involves a small amount of resin being added to the affected tooth or teeth to improve it’s proportions, colour and appearance.

The resin is then sculpted to an ideal shape and then set onto your teeth using a special light.

Composite bonding is a more affordable alternative to some cosmetic dental treatments like veneers. The procedure requires great skill and artistry on the part of the dentist, so the results look natural and can change your smile dramatically in as little as one appointment.

Composite bonding is very versatile and can be used to treat various clinical scenarios:

  • Smile makeovers
  • Repair chipped or broken teeth
  • Treat teeth with cavities
  • Close gaps between teeth
  • Improve the shape, size, and colour of teeth
  • Treat worn down teeth
  • Improve the colour of dark teeth
  • Improve the alignment of teeth

Advantages:

  • Often completed within a single visit for simpler cases without local anesthetic.
  • Usually requires little or no drilling of the tooth structure, meaning less pain and discomfort.
  • Less drilling of your tooth than a crown or veneer
  • Cheaper than porcelain restorations such as crowns and veneers.
  • Easier and cheaper to repair compared to ceramic restorations, hence easier long term maintenance.
  • Easier to make small changes to shape and size as per your desire once bonded.
  • Considered to be reversible, so can be removed with little/no damage to the underlying tooth if disliked.

What does the procedure involve? 

The tooth is treated with specific gels and liquids to allow the resin material to stick to the tooth. The composite resin material with a colour similar to your teeth is then sculpted in layers as required to re-shape the tooth and finally set using a bright light. Once completed, the restoration is polished to look undetectable to the naked eye and feel like a natural tooth.

Is composite bonding suitable for me?

Composite bonding is ideal for anyone who would like to improve the appearance of their smile as an alternative to expensive restorative procedures like crowns and veneers. 

How long does it last?

For most patients, composite bonding will look at its best for around 5-7 years. Sometimes they can last for longer in patients who really follow maintenance instructions and look after their composite bonding. Because bonding requires maintenance, regular dental checks are required every 6 months so your dentist can monitor how your composite bonding is performing. Composite bonding maintenance such as re-polishing, resurfacing or repairing a stained or chipped edge is sometimes all that is needed.